A diary of all my mad projects.

I am glad that you stopped by - welcome to my world. Its a little mad and hectic as I sew, knit, embroider and generally craft my way through life. My newest resolution is to spend more time sewing - less time dreaming about it. I love to read comments so I am looking forward to hearing from you all.


Friday, October 18, 2013

Style Arc Tootsie and a giveaway

Style Arc Tootsie Top October's Freebie
I am on a trouser making binge and ordered a few from Style Arc this month to continue the fitting nightmare journey.  Accompanying the patterns was this months freebie and it looked very interesting - so interesting that I bought some fabric and made it!  


The fabric was from the wonderful Fabric Shop (previously Designer Textiles in Otara) and is a cotton/lycra knit in a dainty shellpink/beige and black stripe.  I have been consulting colour books again and the advice for one such as my colouring is to reduce the contrast between two colours that I wear.  So I can wear black stripes as long as I mute the contrast such as this fabric.

I made the pattern up in my usual Size 20 and decided not to add any extra insurance on seams as the front looked like a rather complicated puzzle.  Style Arc has provided pictures showing how to make up along with the written instructions but I found them hard to understand until I actually had the pieces in my hands to follow instructions.

The first difficulty was working out the way the front pieces went as my stripe had an up and down side - I ended up putting the lighter stripes upwards and the darker thicker stripe underneath.  Cutting out after working this out was a breeze and very quick as only one layer was required.

The first step in making this top was to iron the tuck allowances (which then form the neck line and fold over the seams).  I decided this was an excellent time to use the Babylock chainstitch on the Coverseamer and resulted in beautiful joins of the front pieces with no rippling or stretching.  I highly recommend using this stitch for this top if you have it. 

Somehow I think I have made an error as the diagonal stripe piece ends higher up the armhole that is drawn on the pattern - also it slightly screws upward across the bust.  After assembling the front it was an easy and quick matter to finish the rest (although in my case my overlocker decided to eat the fabric of one shoulder which meant that I spent lots of time unpicking and the neckline might be a little higher than on the pattern).


My daughter, the photographer, said it looked great on me (she is not one for false praise) but I am not so sure.  Firstly it feels a little tight and you can see it pulling across the bust (D cup here). Were I to make it again I would add more to the side seams (now I know where they are) and perhaps lower the neckline a little.  The pattern itself is well drafted and went together without problems (operator error is responsible for the higher neckline as above) once I had the pieces cut out.  

Does anyone else read instructions completely before beginning a project?  I do and the odd time I don't ( see the Style Arc Heidi Cardigan edge problem) always ends in tears, but I have problems with both Style Arc and Burda instructions understanding as I guess they are very brief and understanding does not occur until I actually have the garment pieces in hand and working through the instructions.


I have yet to hem the sleeves and bottom but will finish this top only so I can pass it on - The Bernina Club ladies are always interested in a new piece of clothing!  I bought 2 metres of fabric for this but only used less than a metre - I think the generous measuring of the sales assistant means that there is more than enough for another top.  So if you think you would like to try this top I am giving away the pattern and the rest of the fabric - to ensure that it is morally correct I issue a disclaimer that I have not made a copy as I do not intend making this pattern again.

Please comment if you would like to receive this pattern along with the remaining fabric and I will make the draw next weekend.


Saturday, October 12, 2013

Style Arc Heidi Cardigan


As I have often stated I love Style Arc Patterns - Chloe is a genius as far as I am concerned.  The patterns are a wonderful fit for my figure and I make them up as per the pattern with no alterations.  Another great thing about them is that they offer a freebie each month so my pattern ordering habits are dictated by what the free pattern is on offer.

The Heidi cardigan did not make the list when it came out and it was not until I saw Anne's, aka The  Clothing Engineer, version on her blog that I decided to order and there it sat.  Just recently we have had topsy turvey weather, temperature wise and I needed a top to add a little warmth but not too much and decided to try this cardi.


The fabric is from a new to me store in Hamilton called 'Backstreet Bargains' and is a creamy rayon knit which has been felted(?) onto a black nylon poly fine knit.  It is not possible to pull apart but the rayon is all scrunched up and makes for a great textural effect.  I cut the pattern exactly as is and originally was going to line the hood but did not have enough fabric due to not readying directions properly (Go figure DUH!), as it was I had to piece the front band to get enough length.


Once it was cut it was an easy job putting it together - I followed the instructions - sort of for the pocket and then just followed my instincts for the rest.  I overlocked the seams with my Babylock and then used the coverstitch machine to sew the band seams down and outline.


Initially I was only going to have the buttons as decoration as shown here on the pockets, my record of buttonholes in knits is not good!  However after wearing for an hour I found that I kept wanting to button it up so added a buttonhole, and successfully I might add.


How did I conquer the problem of messy knit buttonholes?  

With stabilisier of course!  

On the inside band I used self adhesive stablisier and a wash away plastic stablisier on the top to hold all that textured knit in place.  The buttonhole was stitched using the Bernina stretch buttonhole programme and perfection was the result.  Well maybe not... it was a little long (easily solved just cut the slot the length needed) but has remained perfect through a few wash and wears.


Style Arc Heidi Cardigan - Size 20 

I like the casualness of this garment and surprise, surprise, my DD and photographer now wants one for herself!!


I like the loose casual style but will consider taking a little off the back as Anne also did for the next version. I highly recommend this pattern to you for a quick make with lots of versatility in the wardrobe.


Wednesday, October 9, 2013

Finally!


Yahooo the velvet dress is finished!  This has been 'slow' sewing at its best, as in the slow cooking movement as an enjoyable process to be savoured.  And I am thrilled with the final result, it is exactly as I had envisaged.  Go me!


To recap the intial design was from Winter 2012 Ottobre magazine which was frankenpatterned using a Burda Pattern. I altered the sleeves to allow more bicep room and then carefully cut out my velvet having made both sides of the patterns for all pieces.  I tried to make sure that the pattern was placed strategically to avoid spotlighting but it was a squeeze as I had failed to anticipate lenghtening the skirt (very short on the original).

Apologies for the photo!
I had a great debate with myself, Elizabeth and sbev from Stitchers Guild about interlining and interfacing this and after checking out a few designer versions decided to fully line the garment but did not interface or interline.


Constructing the dress had its tricky moments as anyone who has sewn this type of fabric would attest to. I marked all seams tucks and darts with a very soft short staple cotton thread (this means that it was easy to remove from the completed seams) which I'm not sure where it came from.  It is absolutely no good for sewing anything but great for this.

The darts and tucks were simple and easy to sew without moving - what was all the fuss about this fabric!! But it was lulling me into a false sense of accomplishment as I moved onto the waist seam and slippage.  Disaster and it was put aside for a few days. Unpicking and basting the seams worked a treat with controlled slippage this time LOL.


Not content to rest on my laurels of taming seams I decided to challenge myself and inserted an invisible zipper just to make removing the garment easier.  Thanks to Foot 35 it was an easy job and look how invisible the seam is.


Sleeves and hems were done by hand, first I sewed some black satin bias to the velvet and then catchstitched all the hems - I need to take to dry cleaners to have it carefully steampressed and it will be ready to wear.  I had wanted a dress that could be dressed up or still worn out during the day and I think I succeeded. What do you think?  

When I asked the teenage son no. 2, he asked whether I really wanted to know his opinion (of course I did) and then said it looked like some grandmothers' curtains and rather old fashioned!!! 

But that is what I like an almost 20's vibe!!


Tuesday, September 24, 2013

Old dogs and new tricks

Image from http://babylock.com/sergers/cover-stitch/


In my sewing room I have a number of machines, these have been bought over a few years as time, money and skills have warranted.  I added a Babylock Cover seamer to the list a few years ago and love it for the professional finish it provides on knits.  I removed the third needle after making a jeans jacket and until last week never changed a thing except threads and new needles as required.


Greta and her lace T-shirt.
Image from https://www.facebook.com/BerninaTauranga?ref=tn_tnmn
 Last week I had the opportunity to learn new ways of using the coverstitch machine to construct knit garments with a class at the Tauranga Bernina Centre with Robyn and the wonderful Greta. Greta is  at present  living in Cambodia (but visiting her parents in NZ).  She is a font of knowledge about all the wonderful fabrics that you can purchase in Cambodia and it is very tempting to visit just to get some fabric!!!  Under her guidence we learnt to use the chain stitch function and we embellished stretch lace (and so easy it was) then joined it to a knit underlayer and made a T-shirt.


Close up showing the fabric strips chainstitched to lace.


The finished t-shirt which was fully constructed on the Coverstitch Machine.

This was so much fun as well as quick and easy.  The differential feed on the machine means that the knit is easily sewn without pulling, stretching or puckering.  I was hooked - a new trick indeed.  The only thing was to make sure that the chain is not pulled before knotting or locking by sewing over seam otherwise all that hard work is undone literally!

At home I was off searching for some quick and easy project!  The Creative Cate from Style Arc seemed an obvious choice and combined with some odds and ends of knits worked a treat.


Close up of the chainstitch


Here it is in a very delicate silk knit from The Fabric Store which stitched up like a dream with the coverstitch.  I had attempted to sew this last year and tossed it into a corner as it kept disappearing down the needleplate of the sewing machine. 

I am impressed with the way I managed to get the pattern to join at the side seams!!


A final picture of me wearing the top - it is not such a good fabric to wear as it sticks to the body - but I loved the print and think the placement worked well.


 On a roll I moved onto a few remnants from past projects - a silver and black polyester knit that has already proved itself as a wardrobe basic.  But still thinking of passing it on as I am not sure that it is very flattering to my colouring - black is not such a good colour for me.


And finally out of a small left over which is a meaty slinky fabric with metallic geometric patterns.  The photo does not do it justice, the pattern is made out of metallic paints that rest ontop of the knit and almost glow.  I did not have much fabric so had to fold out of the middle to accomodate and recut the back neck line.  The fabric is very stretchy but not enough for me.  I badgered Alison to try it on and it was extremely flattering - although she was so taken with the pattern and had lots of ideas of where she could use it in her bags that I hope it remains as a top for a few outings!!!


 Now that I have learnt to use the chainstitch function I am moving onto the two thread stitch on the overlocker.  There are also a few more T-shirts planned using this method.


Sunday, September 15, 2013

Reaching for a Dream


I am so excited to finally realise my dream of teaching sewing!!!

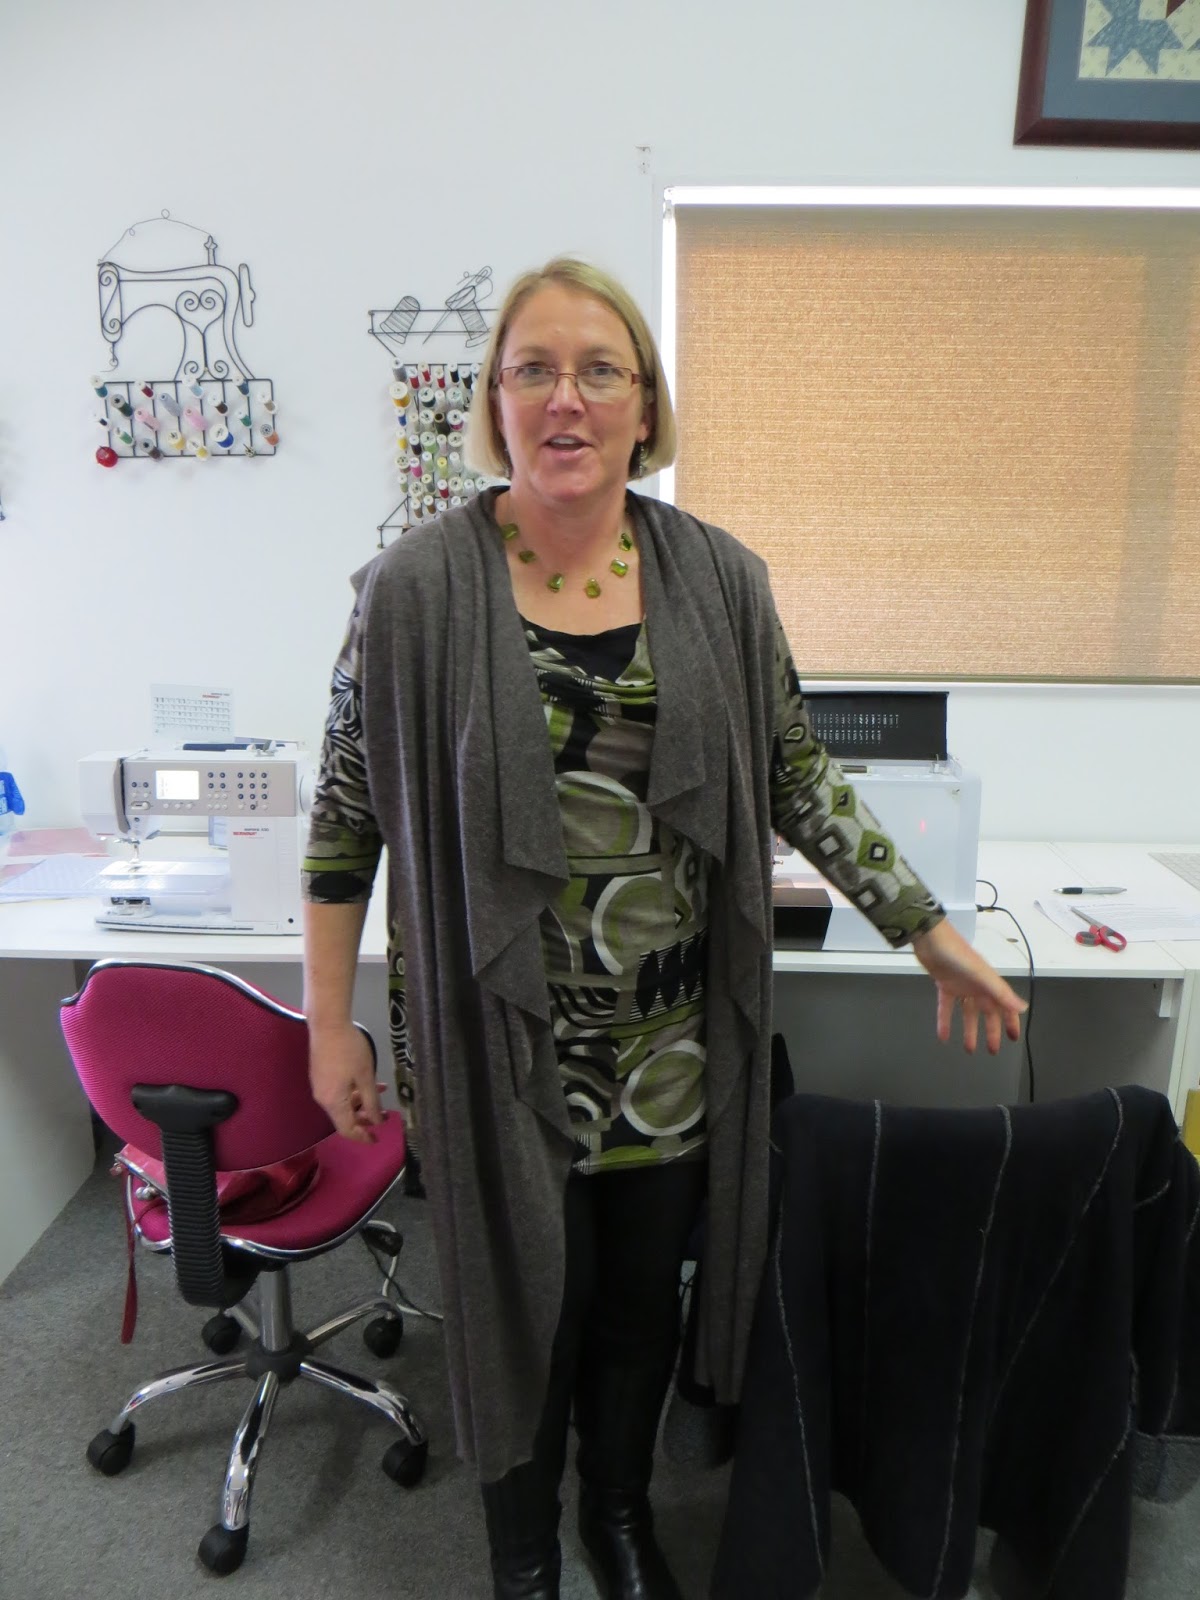
In the past few days I have begun my journey as a sewing tutor.  Thanks to the amazing Robyn from the Tauranga Bernina Centre, who offered me the opportunity, I have taught my first two classes on using Burda Style pattern magazines with my draped front coat as the model pattern.

As a sewer I have struggled with accurately measuring myself and that is the beginning part of the lesson.  In my class,  we work through a measurement chart measuring each other and then onto finding the right size in Burda.  This coat or jacket pattern has only three pattern pieces and is a good introduction to the world of decyphering the maze that is a Burda pattern sheet.

Once this is done we then move onto fitting the pattern to the body.  There was much laughter and lots of talk about our bodies (lets concentrate and accentuate the positive) while we did this.  Shoulders seemed to be the area that needed adjustment for most.  The great thing about this pattern is that it is fairly simple and can be made up in both a knit or woven fabric with some stretch.  While we still had a few seams to finish at home the fiddly collar, dart and yoke seams were completed in class.  I am hoping for a show and tell at Bernina Club.

A Big thanks to Peggy, Lynn, Delwyn, Kathy, Debbie, Angela, Heather and Alison for being such awesome, wonderful students and thank you for letting me post some photos of the days.


Marking that dart
Delwyn cutting it one side at a time.

Heather pining and marking


Alison's jacket

Angela in a beautiful viscose Chanel like fabric.

Kathy and her black lace coat (we should have
put her in white to show and tell)


Debbie with a merino like knit 


Friday, September 6, 2013

In love with 35


Foot number 35 is the Bernna Invisible Zip Foot and I am totally in love with it!  Last night I had three large cushions to make for the New Entrants Room.  They need to be able to washed so needed to have a zip or buttons to close.  I have a ifffy history with zips especially invisible ones so was reluctant to begun until I remembered buying this little beauty with my new Bernina.


I attached and programmed the machine and started.  It was a little difficult to get the teeth of the zip into the groove correctly but easy once you know how, the machine walks slowly opening the zip teeth stitching close.  The end result is a perfectly invisible zip in the seam.

Next time I will take the time to tack the zipper tape exactly where I want it as it had a tendency to move inwards.  I am now looking forward to a dress project with an invisible zip - I can't believe I said that!!

The final result...


The cushions were wonderfully received by the children and will make the library corner a popular space.  And I am happy as I used up some stash helping in the sewing room tidy up.


Wednesday, August 28, 2013

What do you when inspiration fails??

I am curious about what you do when an attack of the blahs hits and sewing is the last thing to contemplate?

During the past week, although the silk velvet dress is cut and ready to go, it was the last thing I wanted to begin.  I have cleaned the car, eradicated the mending pile, rearranged the sewing room and sorted all the fabric as well as working most days.  All because of a fear of beginning to sew this fabric????

Each night I have sat and read over my favourite blogs thrilling to each's wonderful projects hoping to kickstart my enthusiasm.

My all time favourite is Carolyn's blog Diary of a Sewing Fanatic.  Always guaranteed to interest, Carolyn's descriptions of her sewing journey are as entertaining as they are informative and I envy her access to the New York garment district and all its treasures.  It would be a treat to travel the long distance from New Zealand just to meet and spend time with her and of course her fabric collection.

Mrs Moles tales (fit for a queen) from the sewing machine of a bridal seamstress and alterations expert often have me rolling around the floor.  Her sense of humor is only exceeded by her knowledge and expertise in correcting other's messes. Having long ago decided that sewing for others for profit is not for me I can only admire her dogged persistence in fixing what really is virtually unfixable and saving the day for many a bride.  Long may she sew!!!

A recent import is Sarah's blog at Goodbye Valentino.  A resolution to quit buying RTW for a year has turned out to be an internet sensation and Sarah has gone onto blogfamdom and a spot in the Mood Sewing Network.  Her garments are eyecandy of the best sort and an inspiration for anyone who would like to create a wearable wardrobe.

A new blog both in the blogsphere and to me is Master Tailor Jim and his The Lost Art of Fine Tailoring .  A tailor of renown he resides in Savannah and is passing on his skills, teaching at his Savannah Sewing School.  Jim is amazing and can sew a pair of trousers in 90 minutes.  I would love to be able to take a class with him in tailoring as the garments he shows look so sharp.

Of course this is but a beginning of all the blogs that I read and with plans to review more, watch this space.

What do you do to restart that sewing drive?